
The Midnight Water Torture That Forced My Hand
I remember lying in bed at 2 AM, staring at the ceiling, completely wide awake. Down the hall, my bathroom sink was performing a slow, rhythmic torture session. Drip. Pause. Drip.
I tried burying my head under the pillow, but that annoying sound just pierced right through my heavy blankets. My water bill had already started creeping up over the last few months, and the anxiety of it all was keeping me from getting any real rest.
The thought of paying a professional plumber hundreds of dollars just to tighten a screw or replace a tiny piece of rubber made my stomach turn. I realized I had to take matters into my own hands and figure out exactly what was broken before dialing a professional.
When your bathroom sink starts leaking, it feels like a direct attack on your peace of mind. That constant sound is incredibly frustrating, and it is a stark reminder that you are literally flushing money down the drain.
Most people instantly panic and assume the entire plumbing system needs a massive overhaul. They stare at the sink, feeling completely helpless because they do not understand what is happening under that shiny metal exterior.
The mental toll of putting off home repairs can be heavy, leaving you feeling stressed every single time you walk into your own bathroom. Water damage is a real fear, and wondering if that tiny drip will suddenly turn into a flooded floor is enough to keep anyone on edge.
But here is the honest truth I discovered: diagnosing a leaky tap is basically just a simple game of elimination. You do not need a fancy degree to figure out why your sink is acting up.
By taking a deep breath and looking closely at a few specific parts, you can easily find the exact root cause of the problem. Once you know what is actually wrong, you hold all the power.
You can then decide if it is a quick ten-minute fix you can handle yourself or if you truly need to hire an expert. Let me walk you through the exact process I used to become the detective of my own plumbing system.
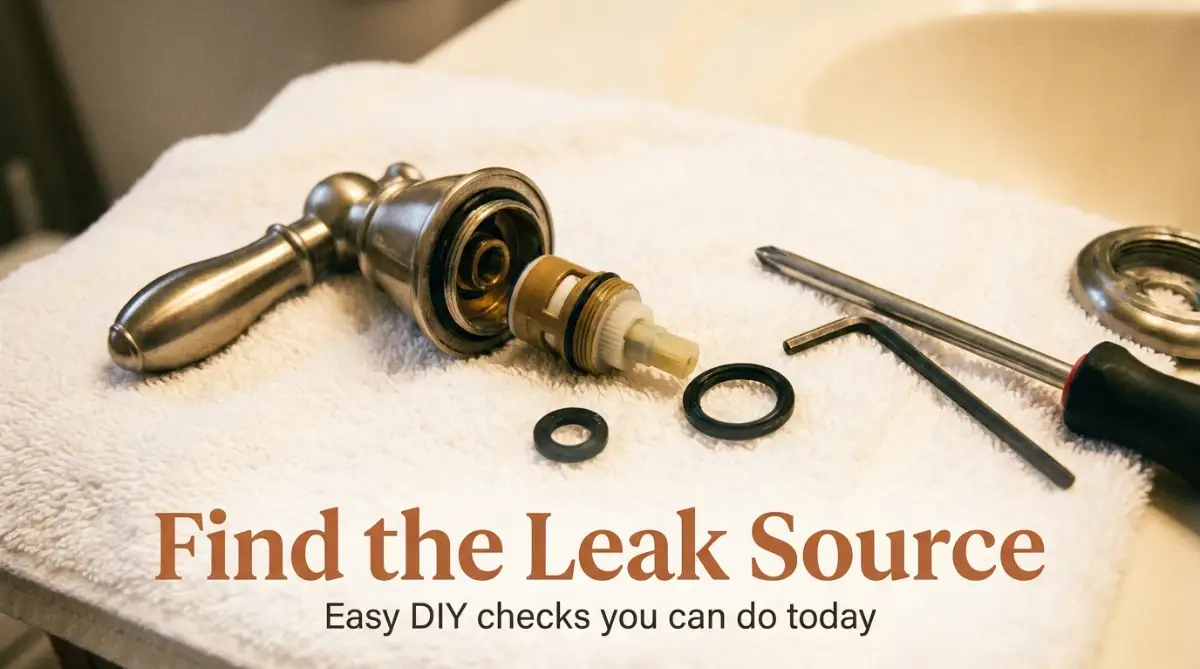
How to Diagnose Your Leaky Bathroom Sink Like a Pro
Finding the exact reason behind a dripping tap is entirely possible for anyone willing to play detective for a few minutes. You do not need any heavy machinery or expensive diagnostic tools to figure this out.
All you need is a good pair of eyes, a little bit of patience, and a basic understanding of how water flows through your fixtures. Let us break down the exact steps to locate the hidden culprit behind that annoying sound.
Step 1: The Pre-Diagnosis Safety Check
Before we even think about touching a tool or taking things apart, we have to secure the area. Turning off the water supply is the golden rule of any plumbing inspection.
Look directly under your bathroom sink, and you will usually see two oval-shaped knobs connected to the pipes attached to the wall. One is for your hot water, and the other is for your cold water.
Turn both of these knobs clockwise until they are completely tight and the water flow is fully shut off. Go ahead and turn on your faucet handles to release any leftover water and pressure trapped inside the pipes.
Once the pipes are completely empty, you are safe to start investigating without the fear of a sudden geyser hitting you in the face.
I actually learned a very painful lesson about preparation a few months ago when I first started tinkering with my sink. I was unscrewing the top of the handle, and the tiny set screw slipped right out of my fingers.
I watched in slow motion as that tiny piece of metal bounced once on the porcelain and vanished straight down the open drain. Always lay a hand towel flat over your drain hole before you start taking anything apart, so you never lose your small, essential hardware.
Step 2: Pinpointing the Exact Location of the Leak
Not all leaks are created equal, and where the water is coming from tells you exactly what part is failing inside. You need to observe the fixture closely while the water is still on, just before you shut the valves off.
Scenario A: Water Dripping Directly From the Spout
This is the most common type of leak you will encounter in your home. If the water is steadily dripping out of the main spout long after you have turned the handles off, the issue is internal.
This directly points to a failure in the mechanism that stops the flow of water, such as a worn-out washer, a cracked cartridge, or a degraded O-ring. The handles are doing their job, but the internal seals have simply given up.
Scenario B: Puddles Forming Around the Base of the Faucet
Sometimes you will notice water pooling around the bottom of the fixture, right where the metal meets the bathroom counter. This specific issue usually only happens when you actually turn the water on.
If you see bubbling or leaking at the base, the internal seals under the handle are likely the problem. It means water is escaping the designated path and seeping down the sides of the fixture instead of coming out of the spout.
Scenario C: Mysterious Leaks Under the Sink
If your countertop is dry but your bathroom cabinet feels damp, you have a completely different issue on your hands. A leak under the sink usually points to loose water supply connections or a failing P-trap in your drain system.
Take a dry paper towel and run it along the supply lines and the drain pipes under the sink. Wherever the paper towel gets wet first is the exact spot you need to investigate further.
Step 3: Isolating the Problem to Hot or Cold
If you have a traditional two-handle setup, you can easily figure out which side is causing the trouble before you take anything apart. This simple test saves you from doing double the work.
Reach under the sink and turn off only the hot water valve, leaving the cold water valve completely open. Wait a few minutes and watch the spout to see if the dripping stops.
If the dripping stops completely, you know for a fact that the hot water side is the root cause of the leak. If the dripping continues, you can confidently assume the cold water side is the one with the broken internal parts.
Watch this quick demonstration to see exactly how to isolate your water valves properly.
Step 4: Knowing Your Faucet Anatomy
To accurately identify the broken part, you have to know what type of mechanism is hiding inside your specific fixture. Most modern homes feature one of four main designs.
The Classic Compression Faucet
If your handles require a bit of force to tighten and you physically feel the parts squeezing together to stop the water, you have a compression setup. These are the oldest designs and are notorious for leaking.
They rely on tiny rubber washers that press down hard against a metal valve seat to block the water pressure. Over time, that rubber gets squashed, cracked, and completely worn away by the constant friction.
The Modern Cartridge Faucet
If your handles turn very smoothly and stop abruptly with a soft click, you likely have a cartridge model. These are incredibly popular in newer homes because they are much more reliable.
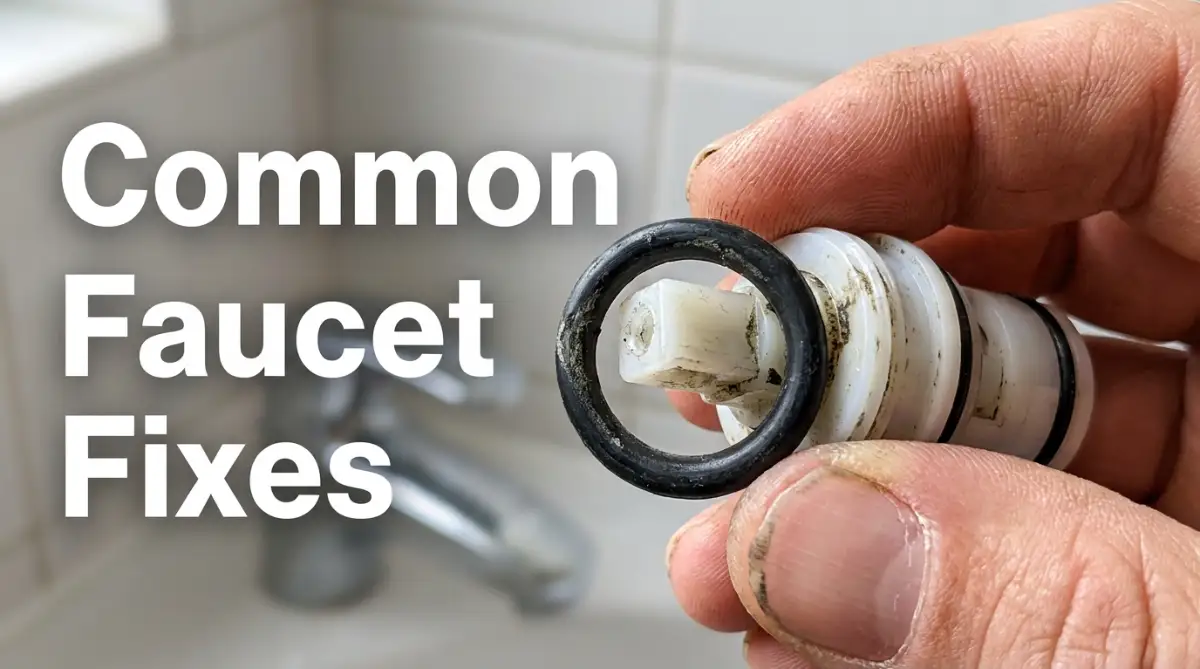
Inside the handle sits a small plastic or brass cylinder called a cartridge, wrapped in rubber O-rings. When these leak, it is usually because the entire plastic cartridge has cracked from hard water buildup, or the O-rings have simply dried out.
Here is a quick breakdown to help you identify your setup:
The Ceramic Disk Setup
These look almost identical to cartridge types from the outside but function very differently inside. They use two highly polished ceramic plates that slide over each other to let water pass through perfectly aligned holes.
Ceramic is incredibly durable, meaning these setups rarely fail. When they do start leaking, it is almost always because tiny pieces of mineral deposits from hard water have become trapped between the two plates, breaking the watertight seal.
The Ball Faucet
You will usually find these on single-handle fixtures where the knob rotates around in a dome-like shape. Inside is a slotted metal or plastic ball resting on top of small, spring-loaded rubber seals.
Because they have so many moving parts, they tend to leak more often than cartridge designs. The small springs lose their tension over time, and the tiny rubber cups get chewed up by the constant movement of the ball.
Step 5: Exposing the True Culprits Behind the Drip
Once you know your fixture type and where the water is coming from, you can finally identify the exact part that needs attention.
The Deteriorated O-Ring
An O-ring is a small rubber loop that creates a waterproof seal around the base of the spout or the internal cartridge. If your faucet leaks exactly at the base where the spout connects to the sink, a broken O-ring is almost always the guilty party.
Rubber naturally degrades over time, especially when constantly exposed to hot water and chemical cleaners. You will often find the O-ring looks flattened, brittle, or completely snapped in half when you inspect it.
A Scratched or Corroded Valve Seat
The valve seat is the exact spot where the rubber washer presses down to stop the water flow in a compression setup. If you have replaced the rubber washer and the sink is still dripping, the valve seat is your next suspect.
Water sediments can build up and physically scratch the metal, creating tiny grooves that allow water to sneak past the new rubber washer. You can often run your fingernail over the metal seat to feel for these hidden scratches and rough spots.
Myth vs. Reality: Common Plumbing Misconceptions
People often make the diagnostic process much harder than it needs to be because of bad advice. Let us clear up a few things right now.
Myth: A dripping tap means the water pressure in your house is way too high.
Reality: While extreme pressure can cause issues, 99% of normal drips are simply caused by worn-out rubber seals inside the handle, not your main water line.
Myth: You have to replace the entire fixture if it starts leaking heavily.
Reality: Almost every single internal part, from the smallest O-ring to the largest brass cartridge, can be bought separately for just a few dollars at a local hardware store.
Myth: Tightening the handle as hard as possible will eventually stop the leak.
Reality: Cranking down hard on a leaking handle will actually crush the remaining rubber seals and permanently damage the internal threads, turning a cheap repair into an expensive disaster.
What to Tell the Plumber If You Still Need One
Sometimes, you might identify the root cause but realize you do not have the time or the specific tools to fix it yourself. That is completely okay.
The beautiful part about doing this diagnostic work is that you are now an educated homeowner. When you call a local repair service, you will not just say, "My sink is leaking."
You can confidently tell them, "I have a two-handle cartridge fixture, and the hot water side is leaking directly from the spout because of a failed internal cartridge." Giving a professional this exact information prevents them from charging you a diagnostic fee and ensures they show up with the right parts on the very first visit.
You have successfully solved the mystery of the dripping tap. You understand your plumbing layout, you know exactly what parts are hiding under the metal, and you have protected your wallet from unnecessary expenses.
Mastering Your Plumbing: Pro-Level Secrets for a Drip-Free Home
Now that you know how to track down the exact source of that annoying bathroom leak, you are already ahead of most homeowners. But finding the problem is only half the battle when it comes to maintaining your home.
If you want to keep your fixtures running perfectly for a long time, you need to think like a seasoned professional. There are specific habits and hidden tricks that experts use to ensure a repair actually lasts.
You do not want to fix a dripping spout today just to have it start leaking again next month. By applying a few advanced strategies, you can protect your entire plumbing setup and save yourself from future headaches.
The Silent Enemy: Hard Water and Mineral Buildup
One of the biggest reasons internal seals fail so quickly is completely invisible to the naked eye. If you live in an area with hard water, high levels of calcium and magnesium are constantly flowing through your pipes.
Over time, these minerals leave behind a crusty, white residue on the moving parts inside your fixtures. This rough buildup acts like sandpaper against soft rubber O-rings and silicone seals.
According to the US Geological Survey on water hardness, a massive percentage of homes deal with these tough mineral deposits daily. When you take your fixture apart to inspect it, always look for this white, chalky substance around the cartridge or valve seat.
The Magic of the Vinegar Soak
If you find mineral scale inside your handle, do not try to scrape it off with a metal screwdriver. You will permanently scratch the smooth brass or plastic surfaces, which will instantly cause new leaks.
Instead, fill a small plastic cup with regular white household vinegar and drop the scaled parts inside. Let them sit completely submerged for about thirty minutes while you clean the rest of the sink.
The natural acidity of the vinegar will dissolve the tough mineral deposits safely and easily. After a good soak, you can simply wipe the parts clean with an old toothbrush and a soft paper towel.
Lubrication is Your Best Friend
When people replace a rubber washer or an O-ring, they often put the dry rubber straight onto the metal and put everything back together. This is a massive missed opportunity that guarantees the rubber will dry out and crack much sooner.
You should always coat your new rubber seals with a thin layer of heat-proof, waterproof silicone plumber's grease. This special grease keeps the rubber incredibly soft and prevents it from sticking to the metal components over time.
Never use petroleum jelly or standard household lotions for this step. Petroleum-based products will actually eat away at the rubber seals and destroy them from the inside out.
Thinking About the Bigger Financial Picture
Learning these small home maintenance skills might seem like a minor thing, but it heavily impacts your overall financial health. When you stop relying on expensive contractors for minor inconveniences, you keep more money in your pocket for things that truly matter.
It is very similar to understanding the hidden legal traps that can destroy your new startup overnight. Small, unchecked issues in your home or your business can silently drain your resources if you are not paying close attention.
Taking care of your property properly is the smartest way to protect your long-term investments. If you ever plan on exploring low deposit condo mortgages for a new property, knowing how to maintain a home makes the entire ownership process much less intimidating.
A Pro's Checklist for Routine Bathroom Maintenance
You can actually prevent most leaks from ever happening just by doing a quick checkup twice a year. It takes less than five minutes but saves you incredible amounts of stress.
- Check your shut-off valves: Reach under the sink and turn the oval knobs off and back on every six months. If you never turn them, they will seize up and freeze in place, making them useless in an emergency.
- Clean your aerator: Unscrew the tiny metal screen at the tip of your spout and rinse out any trapped sand or debris. A clogged aerator creates back pressure that stresses the internal seals.
- Inspect the base: Run your finger around the bottom plate of the fixture where it meets the porcelain. If you feel any soft spots in the caulk, clean it out and reapply a fresh seal to prevent under-sink water damage.
By staying proactive, you take complete control of your living space. For more practical advice on managing your everyday life and home, you can always browse through our main resources at Infozonee.
The Danger Zone: Rookie Mistakes That Will Cost You Dearly
While identifying a leak is totally safe and manageable, the diagnostic process can go wrong if you rush it. Many well-meaning homeowners accidentally turn a ten-dollar problem into a massive emergency repair simply by forcing things.
When you get frustrated, you tend to stop thinking clearly and start using brute strength. Plumbing parts are actually quite delicate, and they require a gentle, calculated approach.
Understanding what not to do is just as important as knowing the correct steps. Let us look at the most common disasters people create while trying to investigate their dripping sinks.
The "Hulk Grip" Disaster
The single most common mistake people make is believing that tighter is always better. When they see a drip, their first instinct is to grab the handle and crank it down as hard as humanly possible.
They think they can manually force the broken rubber seal to block the water. In reality, applying extreme pressure crushes the delicate internal mechanisms and completely strips the brass threads inside the fixture.
Once those metal threads are stripped, you can never get a tight fit again, even with brand new replacement parts. You will be forced to throw away the entire unit and buy a completely new one, wasting a significant amount of money.
Attacking Chrome with Raw Metal Tools
When trying to remove a stubborn handle or a decorative cap, people often grab standard pliers or a flathead screwdriver. They jam the hard steel directly against the shiny chrome or brushed nickel finish of the fixture.
One slip of the wrist, and you instantly leave a massive, permanent scratch right on the front of your beautiful sink. That ugly scratch will stare back at you every single morning when you brush your teeth.
Always wrap the jaws of your pliers with a thick layer of electrical tape or use a small rag between the tool and the metal. You can also invest in a cheap strap wrench, which uses a rubber belt to grip round objects without leaving a single mark.
Forgetting the Drain Trap Hazard
I mentioned covering your drain with a towel earlier, but the danger of dropping small parts is very real. People often take out the tiny set screw that holds the handle in place, only to watch it instantly fall down the open hole.
If this happens, do not panic and do not run the water to flush it down. You will have to put a bucket under your sink, unscrew the curved P-trap pipe, and dig through disgusting sludge to find that tiny screw.
This simple mistake easily adds an hour of nasty, smelly work to a job that should have taken ten minutes. A simple washclot